
Commissioning an eSpire Nano in Under Five Minutes
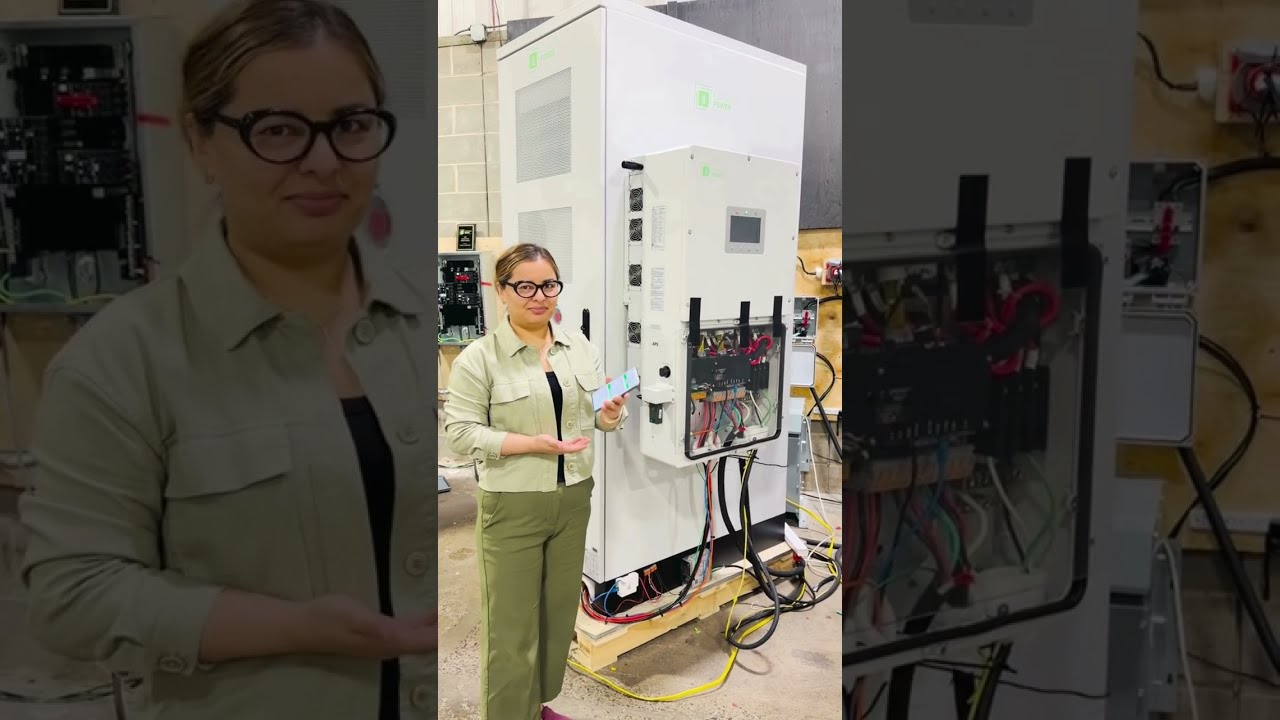
Commissioning a commercial energy storage system doesn’t have to be a lengthy process. With the Fortress Power Pro App, installers can commission a single eSpire Nano in under five minutes, moving from initial system connection through site configuration in one guided process.
In this walkthrough, we’ll cover the complete eSpire Nano commissioning process, including connecting the Guardian Dongle, confirming equipment, configuring grid and operating settings, setting battery schedules, configuring the Smart Port and completing final system setup. Watch our quick Nano commissioning walkthrough below, or keep reading for a closer look at the process.
Start eSpire Nano Commissioning in the Fortress Power Pro App
To begin, open the Fortress Power Pro App and log in with your installer credentials. At this point, if an app update is available, you can choose to update immediately or instead continue with the setup and return to the update later.
Once you’re logged in, navigate to the dashboard. From there, select Commission a New Site to begin setting up a new Nano system. Alternatively, the dashboard also provides access to Site Management, where existing installations can be accessed and managed after setup.
Connect the Guardian Dongle
The first stage establishes communication between the Pro App and the equipment. To begin, installers can locate the Guardian Dongle by scanning its QR code or searching for it using Bluetooth. Once the correct serial number appears, select it to establish the connection. From there, press the button directly on the Guardian Dongle to generate a verification token, which confirms physical access to the equipment during setup.
After verification is complete, connect the system to the internet using Wi-Fi or a hardwired connection. When using Wi-Fi, the Pro App displays connection information and signal strength, allowing you to confirm connectivity before moving forward. Finally, register the Guardian Dongle to the cloud to complete the connection process.
Create the Site
Once the site information is in place, it’s time to confirm the equipment being installed. To begin, select the eSpire Nano inverter and connected battery. From there, the Pro App provides a confirmation screen displaying equipment information, including serial numbers and current firmware versions.
At this stage, equipment manuals are also accessible if needed, providing additional information while working at the site.
Before continuing, review the equipment details to make sure everything is correct. Once the equipment is confirmed, move forward into system configuration.
Confirm the eSpire Nano Equipment
Once the site information is in place, it’s time to confirm the equipment being installed. To begin, select the eSpire Nano inverter and connected battery. From there, the Pro App provides a confirmation screen displaying equipment information, including serial numbers and current firmware versions.
At this stage, equipment manuals are also accessible if needed, providing additional information while working at the site.
Before continuing, review the equipment details to make sure everything is correct. Once the equipment is confirmed, move forward into system configuration.
Configure the eSpire Nano for the Site
Once the equipment is confirmed, the Pro App guides the installer through the site-specific configuration. To begin, select the single-inverter configuration for a single eSpire Nano installation.
From there, confirm the site’s wiring setup and frequency, then verify the local time zone and date. After those settings are confirmed, select whether the system will operate grid-tied or off-grid. For a grid-tied installation, enter the site’s main busbar rating. Finally, choose the appropriate grid parameters for the installation.
Keeping these selections within the same guided workflow allows installers to move from equipment connection through system configuration without switching between separate setup tools.
Select the eSpire Nano Operating Mode
The next stage determines how the eSpire Nano will operate at the site. The Pro App provides three operating modes:
- Self-Consumption
- Backup
- Sell to Grid
Each option includes a description within the app to provide additional context during setup. After selecting an operating mode, installers can configure settings including grid charging, grid export, export limits and battery cutoff levels. These values can be customized based on the installation, while default settings are also available when appropriate.
Configure Battery Scheduling
After the operating mode is configured, installers can move into battery scheduling. From there, select the start and end times based on how the battery should operate throughout the day. If needed, additional time periods can be added to accommodate the needs of the site.
Once the desired schedule is created, save the settings and continue. At this stage, the Pro App also displays a Peak Shaving option. Currently, Peak Shaving is configured through the Keystone web portal or directly through the eSpire Nano LCD screen, with Pro App functionality planned for a future update.
Configure the eSpire Nano Smart Port
The Smart Port gives installers the ability to configure the eSpire Nano for an additional site application.The port can be configured for one of three uses:
- Generator
- AC coupling
- Smart load
One application can be connected to the Smart Port at a time. When Generator is selected, for example, the installer can enter the generator’s rated power and configure charging power and cooldown time. Battery state-of-charge thresholds can also be set to determine when the generator should turn on and when it should turn back off. Once the appropriate Smart Port settings are entered, save the configuration and continue.
Complete Setup
The Pro App provides a final summary of the eSpire Nano configuration. This gives installers an opportunity to review the grid configuration, operating mode, battery schedule, system parameters and Smart Port settings in one place.
If something needs to be changed, return to the appropriate section, make the adjustment and review the configuration again. Once everything is correct, confirm the settings to complete the process. The final screen provides an immediate look at battery state of charge and system power flow. After commissioning, installers can return to Site Management to access the system and review or adjust settings as needed.
Commercial Performance. Residential-Speed Commissioning.
For installers moving into commercial and industrial energy storage, time spent setting up a system matters.
That’s why the Nano combines commercial energy storage capabilities with a guided setup process designed to make getting a system up and running straightforward. From the start, the Pro App keeps the process within one guided workflow, from connecting equipment and confirming site information to configuring operating modes, battery schedules and Smart Port settings. As a result, installers can move through setup efficiently without adding unnecessary complexity.
Explore the Nano and see how it can fit your next C&I energy storage project.